Pages

Sunday, February 16, 2014

DIY Trunk

This old hope chest was passed down to me by my mother when i got married. After recently redoing the decor of my living room, I decided it was time to update this trunk as well.

 Here is the before..pretty boring and plain. 

I started by taking the gold knobs off and sanding down the trunk just enough to take off some of the shininess. 

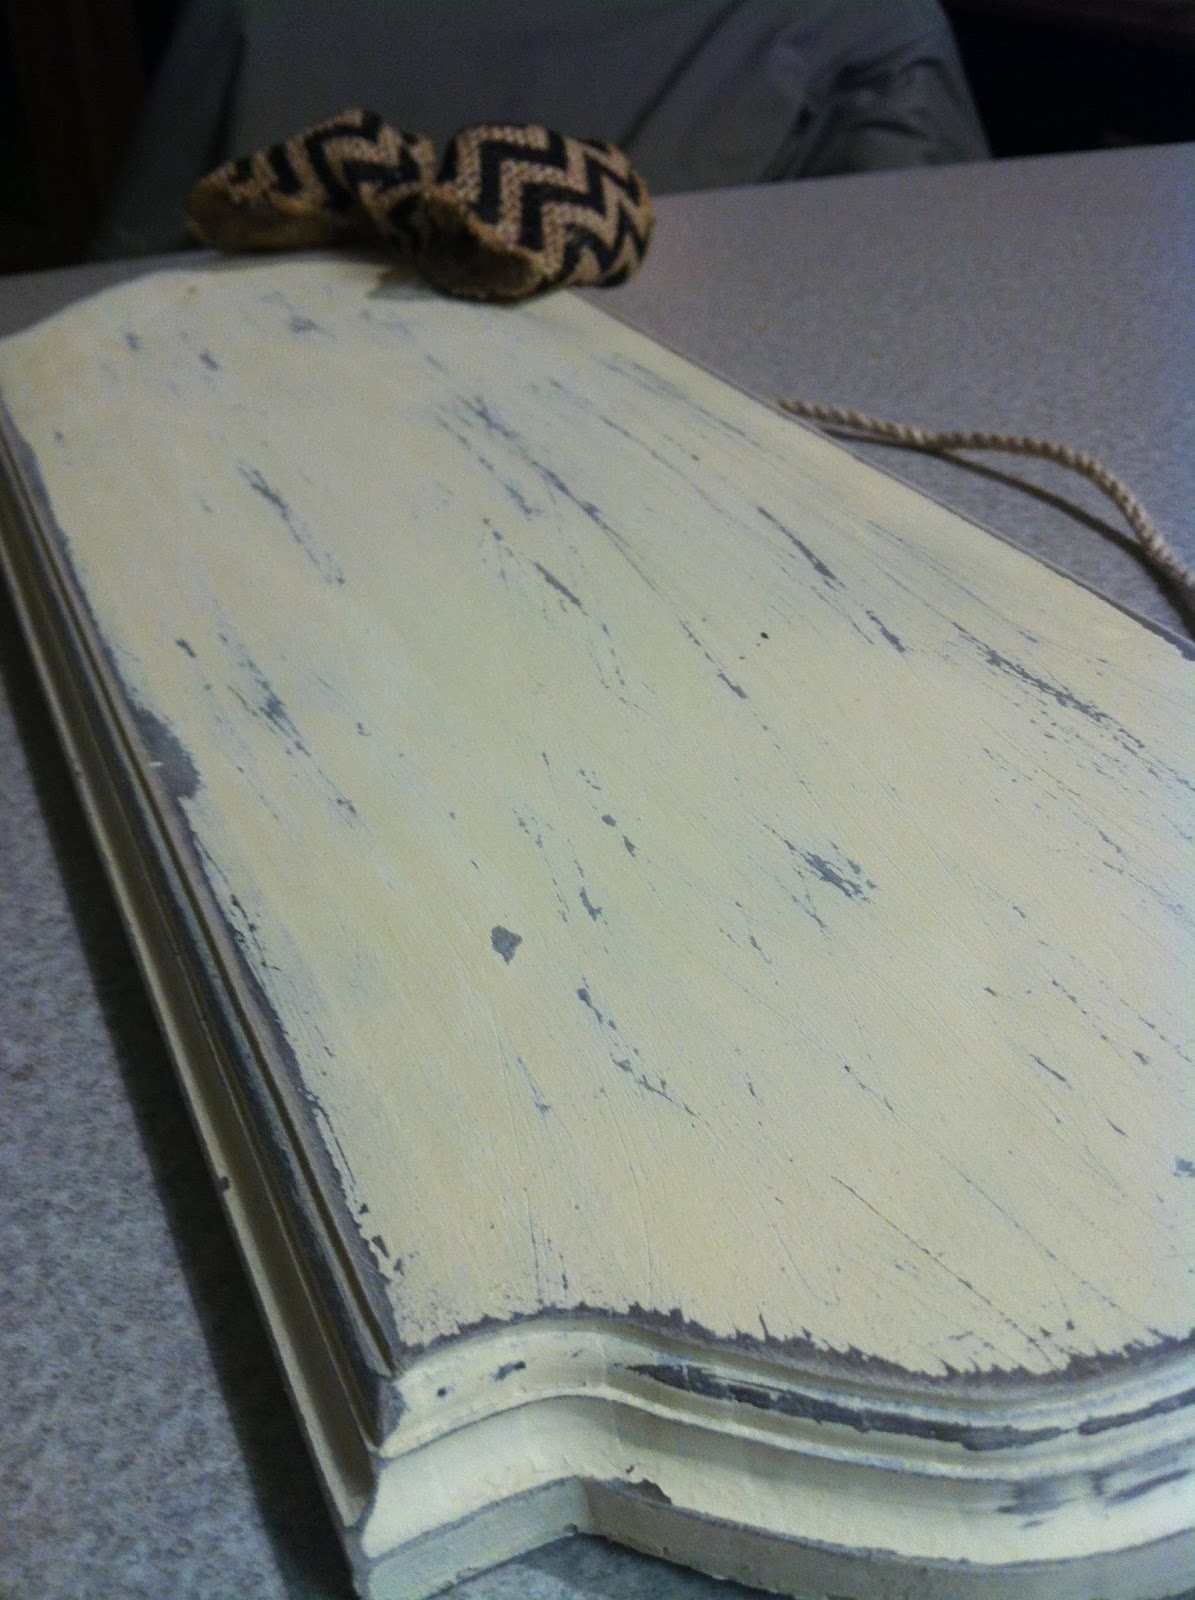
Then, as you can see, I did one layer of white paint on the middle of the trunk and on that little decorative piece at the bottom. I ended up doing 3 thin coats of the white paint. 


After the white dried I stained the top and bottom of the trunk a dark wood brown. 


 Last but not least, I added these deer antler drawer knobs from Hobby Lobby after i distressed the white paint with sandpaper. 

Here is the finished product in my living room. I plan to make a cushion and pillows for it out of potato sacks, I will do a post on that once I get around to it! The big plan for this is to be a gun storage trunk for all of my husbands rifles and shotguns. I like this idea better than a typical gun showcase or cabinet. I will keep ya'll updated on both of those DIY projects as they happen=]

I really hope you all are enjoying these posts and keep following for plenty more to come! 
Thanks! -Kat


Friday, January 31, 2014

DIY burlap garden flag

Recently I made a trip down south to visit my family and came across several, several feet of real burlap at my mom's house that she wasn't using. She used them for table cloths in a wedding she did a few months but had no other plans with them so she gave it all to me! she also gave me some potato sacks so stay tuned to see what i do with those soon;)
 so far i have made three wreaths (i posted pictures on my post titled "Wreaths"), a couple table runners and a couple little odds and ends around the house. with what i had leftover i decided to make into a new burlap garden flag to coordinate with my wreaths and decor outside which all have the chevron burlap ribbon i purchased at Hobby Lobby.

I took some inspirations off of some I found on Etsy. i love how the bow turned out!=]

The first thing i did was size the burlap to my flag holder and cut two pieces (i am using real burlap so it has alot of holes and can be pretty thin so i doubled it up) and i glued those two pieces together around the edges to make it look a little thicker. Then i cut two strips and glued them together on the back of the flag to form loops that i can put the flag holder through to hang it. Next, I just took some regular black paint and a brush and free handed the "C" and the est. 2010. Once that dried i cut strips of my chevron ribbon and i made loops in three different sizes and two of each and glued those on the flag to form a "bow". For the middle of the bow i just cut a smaller strip and glued across the middle. Then just glued the tails of the ribbon on in a twisted pattern and its finished!

I made this myself out of supplies i either already had or was given to me. If you can find these items or can buy them on sale or off of a friend I would totally make this instead of buying one. these can sale for as high as $25-$30 depending on the retailer. I think it is obnoxious asking that for a little garden flag. So, if you can find these supplies then you can have the leftovers for other projects as well!=]

I hop you guys liked this and I hope you make one of your own.
thank you and keep following for more!
-Kat 

Wednesday, January 29, 2014

Nifty Thrifting

I really enjoy finding things that i can redo and turn into something beautiful for my home at a really low cost or even free at times. What a better place to find little hidden treasures than a thrift store. A lot of people get discouraged at the subject of thrift stores but you can find really nice things to add to your home and make your own if you keep your mind open. That is why I am going to share a few gems I found a few months ago when I was on the hunt for supplies for a picture collage project. As many of you have probably realized, picture frames can sometimes be a bit outrageous and really add up! This is why I headed straight to a few of our local thrift stores and grabbed all of the ones I liked=]
I also found something to be my centerpiece for my dining table!

This is my DIY wall picture collage..and every single frame you see was purchased at the thrift store! I spent a grand total of $12 for all of these. I used some black paint I already had and left over beige paint from the wall I painted in this room to redo the frames and the monogram. 

All three of those candle holders were found at a thrift store as well! I paid a total of $10 for all of them. The funny part is I had to stop in Hobby Lobby that same day and saw the exact same ones for almost $30 a piece for the tall ones! Talk about an amazing deal=]


I hope you guys liked this thrifting post and definitely check out your local thrift stores for a budget friendly place for your home decor or DIY projects. Thank you and keep following=]  
-Kat

Monday, January 20, 2014

DIY sign post

I love DIY projects and love looking on Pinterest to get inspiration for my next projects. This weekends project was to make this sign post i re pinned a few months ago. I am loving how it turned out! =] let me tell you how i did it..
 The finished product, i love the way it looks!

Here are the products i used, i purchased everything from Hobby Lobby and Menards.
Here is the post itself..mine is actually a post that is made for stairs but it worked great for this. It was about $30 at Menards. 
the first thing i did was paint everything. I spray painted the letters for our name, the base of the post, and the post black. I painted the sign black, then went over it with a coat of cream colored crackle paint, which ill get into more in a minute...
so the crackle paint ended up being a fail because i chose not to read the directions when i was in the store. apparently you need a special base coat for it to work. it ended up just looking like a normal cream colored sprat paint so i had to distress it myself with sand paper for the black to show through.
a better look at the finish of the sign.
Lastly, I just attached the pretty hook i bought and hot glued on the embellishments for the sign. I used Liquid Nails to attach the base to the post to make it more sturdy.
I love the way my entryway looks now! I hope you guys liked this and maybe it will inspire some of you to do some DIY projects around your home. Thank you and keep following! -Kat


Thursday, January 16, 2014

KatsKitchen

 Something you may not know about me yet is that i LOVE to cook and bake. My biggest culinary inspiration is my Granny, she was like another mother to me as I was growing me. My favorite memory of her is every year my sister and I would go to her house in early December and bake tons and tons of Christmas cookies. My older sister still does that to this day only now Granny comes over to my sister home, I live too far away to join in on that tradition now. The kitchen was the first place in the house that i started concentrating on and has taken the longest to get it just the way i want. I dont have as much space in my kitchen as i would like but i think i have done well with the space i do have (especially for as much stuff that i have accumulated!). My kitchen is a Chef theme and my main accent color is red. I love this theme so much and had so much fun decorating it and finding pieces i love. These pictures dont do much justice, I promise that it doesnt look as cluttered or as crowded as the pictures make it seem.
I love how the chef place mats look on top of my cabinets with the white lights.  I got the picture above my stove from Hobby Lobby. In person it is so beautiful, it added a lot of warmth to the space and pulled everything together. I made the perfect backsplash!

here is the view from my dining room. isnt it cute!:) (can you spot the sneak peak at my baking corner?)
the view from the other side of my kitchen, looking into the dining room. I can do a separate post on my dining room if wanted:) dont mind the Paula Deen pot drying in the sink..im keeping things real! (those curtains are made out of an old bed skirt)
here are a few pictures i took of decorative things. that basket is a thermal basket from ThirtyOne and i use it as a bread box, it is paired up with my DIY knife block. the picture on the far left is the grouping i have done on top of our fridge. I love grouping things together in a cute way. And i just had to add a picture of my little chef sitting on my utensil holder, hes too cute. 
I also found this cute hook that looks like a coffee cup and i hand my aprons on there along with a potholder.
I hope you guys enjoyed this post of my kitchen, I am so proud of how it turned out. It is by far my favorite room in my home. Please keep following and comment to let me know your opinions on my blog and feel free to leave suggestions or requests! Thanks guys:) -Kat


Monday, January 13, 2014

Country & Cozy

My husband is a big outdoors man and loves to hunt. I started redoing our living room about a year ago and I decided to make it a "country" theme. I still have my feminine & decorative swing on things of course! Our living room furniture is from ikeating and Ashley furniture and is made by Lazy boy. I have wanted a sectional leather couch since we got married so i fell in love with this one and snagged an amazing deal on it! its the most comfortable couch i have ever sat/laid on, hands down.

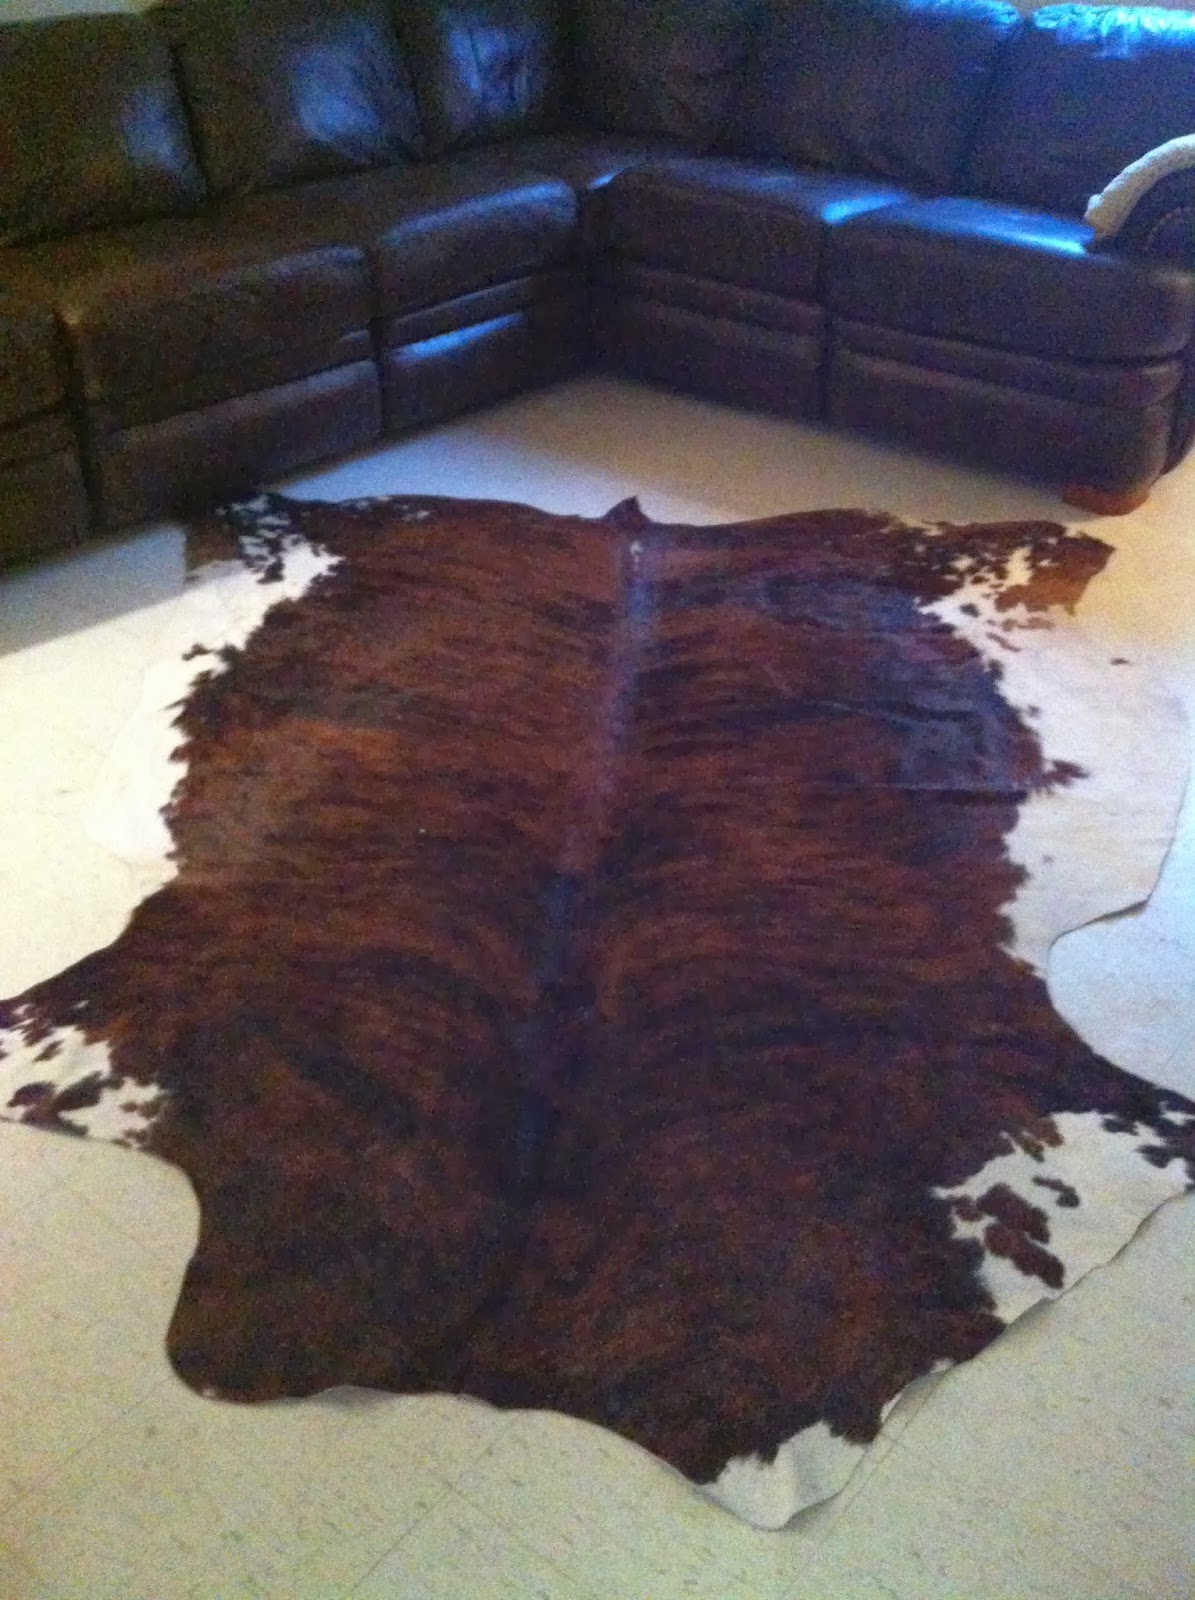
heres the view from the top of my stairs (I live in a tri-level home in case your confused) and yes..that's a cow skin rug you see there.

this is a grapevine wreath that i hung from a curtain rod, then hung two pictures on both sides in distressed wooden frames.
this is the view from the far side of the couch, to get a better view of the arrangements, i get more into those below. 
these are old milk jug inspired vases that i found at Gordmans and i used some real okra sticks from my mothers garden from back home to add some height. I found these burlap leaf picks at a local whole seller and the pine cone picks from hobby lobby. I then wrapped some real burlap (also from my mothers house) around the top of the vase to help tie in with the table runner i made. I also have some real cotton coming my way in the mail soon that my sister picked for me in Alabama. I am stationed very far away from home so having these little touches around my house are so special to me<3 and it just goes with my theme so well!
and this is my gorgeous cow skin rug. i know some of you wont like this, and i am sorry. I think it adds just the perfect touch that the room needed to pull everything together. 
this is a wreath i made that appeared in my "Wreaths" blogpost. It is hung on the door that leads into my laundry room. I just used some extra materials i had and i think it compliments the decor nicely. 
here are a couple pictures showing the deer antler and pine cone decor i have around the room. 
I hope ya'll enjoyed this post. I will have more updates to this room so keep following:) thanks for the support! -Kat


Sunday, January 12, 2014

at home office

My husband and I recently made the decision to purchase a desktop computer for our online classes. I had this little cubby hole in the front part of my house, which ended up working out perfect for housing our desk. It also gave the front room some sort of purpose. I purchased this desk from Target.com, i didn't want it to have that typical "office" look to it. I wanted it to still look nice and tie in well with the rest of the room's decor. I also purchased the pen holder ( a candle holder) and my planner, which is being re-purposed as a mouse pad..instead of an ugly plain mouse pad, from Target as well. I got my desk lamp at Gordmans..i suggest everyone find one of these stores and shop there, its AMAZING!
here is this room before we moved in..see that little nook area..yeah im not sure what its supposed to be for but it ended up being perfect for our little office space. 
this is the desk i purchased from Target.com, told you it fit perfectly!

heres a better look at this fabulous chair=]
after we got the computer and pieced everything together, turned out pretty darn good!


thanks ya'll:) keep following!-Kat