Hey Guys!
Well, as promised, I am going to share with you how I painted my ugly plain laminate counter tops in my kitchen to resemble granite. This was so inexpensive and easy to do, I know it may sound kind of crazy when you think about painting counter tops but I promise you have nothing to be afraid of.
I'll start by showing you another before picture of my kitchen ( I apologize for the poor picture quality). They were just a plain grey laminate before and they were in excellent condition i just wasn't a fan.
*before you start I suggest going to your local Lowe's or Home Depot and getting a laminate sample that you like, this will help you pick our the acrylic paints that you will need. You will need to figure out what base color you want them to be. I knew i wanted mine to mostly be tan with hints of black, cream and other lighter shades of tan.
The first step is to tape off around your counters, sink, appliances..anywhere that you don't want paint and epoxy!
Then, make sure your counters are clean and dust free and dry them completely. now you're ready to roll the primer on.
This is the primer i used for the counters, I just used a small roller and rolled it on pretty quickly making sure it was as even as possible. ( I also used this same primer on my kitchen cabinets, check out my previous post for more info on that!)
Let the primer dry, it doesn't take long for primer to dry. Then grab your sponge and your base color and get ready to start dabbing! This can be very therapeutic if you look at it positively=]
You are literally just dabbing the paint colors on layer by layer very lightly so you don't smudge the paint. start with your base color and cover the counters in this color initially and wait to dry before moving on to the next color.
You can buy a craft sponge at Hobby Lobby or any craft store and just rip it up so you gt a more natural effect like a stone would have.
Here are the paints i used. I started with the coffee latte as my base color since it was the darker tan. Then filled in the white spots with the country twill just like i did the base color. then, just keep layering until you are happy with it. Then, when you move onto your dark color and your white or cream accent color you want to use it sparingly because the lightest color and the darkest colors will pop a lot more than any other colors once the epoxy is poured.
Once your paint is finished and dried you can use a very light grit sand paper to make it even but this is optional, it will just help it all blend a little better.
Then its time for the epoxy, I was so nervous but had no reason to be because it was so easy. just prepare your epoxy according to the instructions on the box and work in sections a little bit at a time. I used a window squeegee to spread the epoxy around and drag it over the edges (make sure your cabinets and floors are covered well because it will drip!).
The epoxy is self leveling so don't worry if its not perfect when you first lay it down. once it is all laid you need to get all of the tape off of everything before it gets to tacky and will be hard to remove. I would keep coming back to it every few minutes to wipe any drips off of the edges of the counters so that they don't dry like that. After a couple of hours you wont have to do this anymore because it will begin to harden. Now comes the longest part of this, the waiting. You wont be able to use your counters for the approximated curing time according to the epoxy you use. I promise itll be worth it so just be patient!
Click the link below to see the epoxy I used.
And the finished result!
Look at how shiny they are, and thy are so easy to keep clean and wipe anything off of and i am a messy cook!
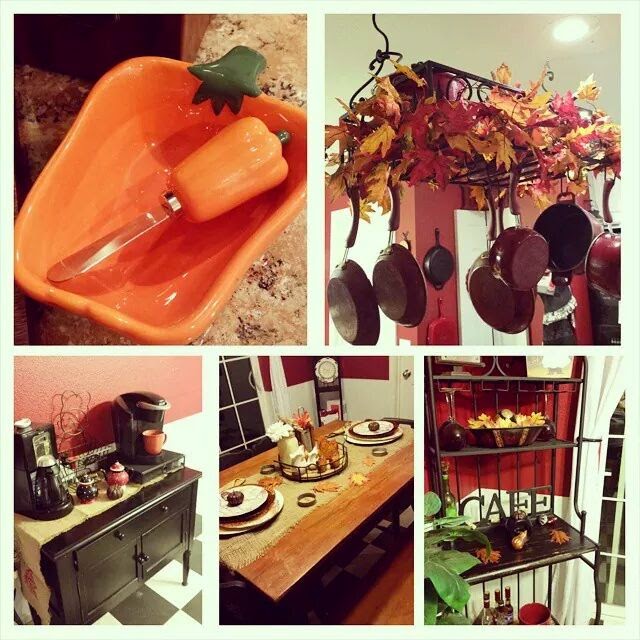
Here are some more pictures of how they look with my kitchen.
I hope this inspires you guys to maybe try this in your own home and save some money.
Thanks for the support as always!
Make sure to subscribe and visit my instagram for more pictures of all my projects.
<3 Kat


